
Caring for your products
Please refer to the cleaning and maintenance information that is applicable to your Stonebaths products. You can also download a guide.
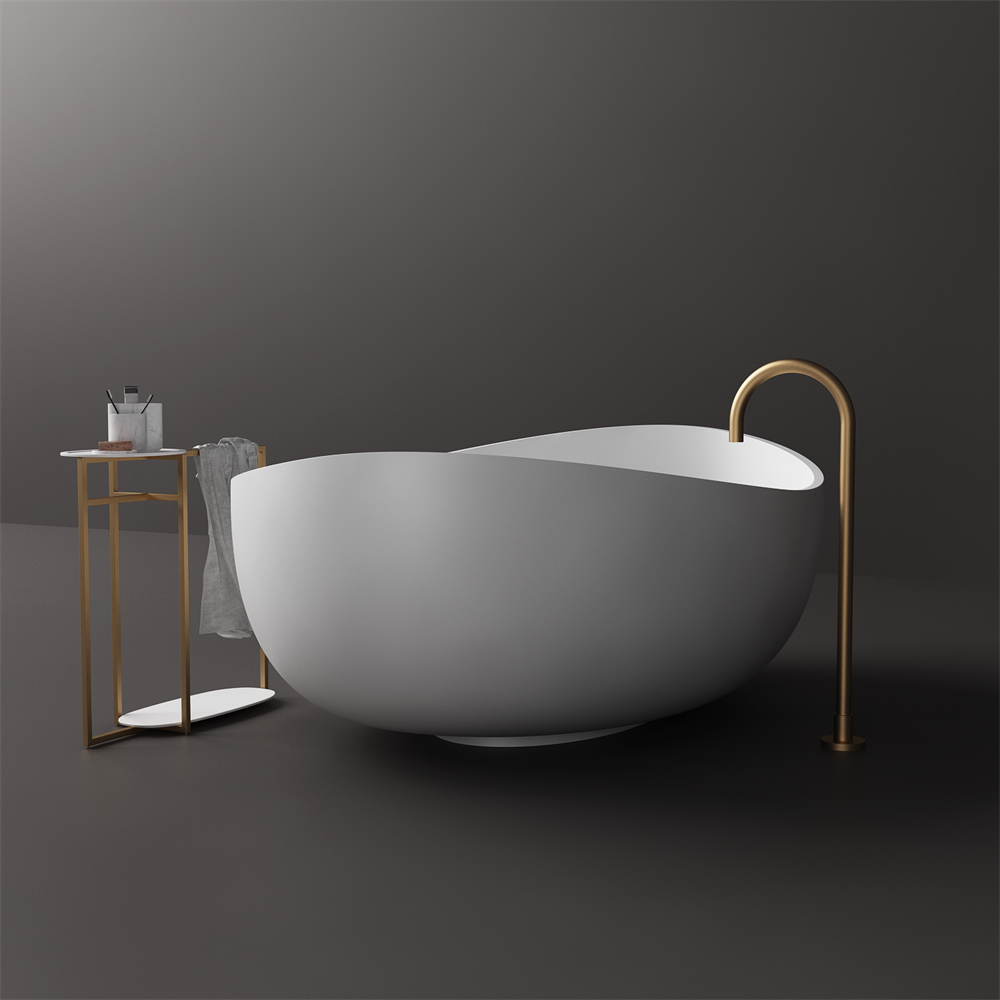
Polymarble & Solid Surface Baths & Basins
EVERYDAY CLEANING
Polymarble and solid surface baths can be cleaned with Jif/Ajax or warm soapy water and a cloth. Clean any bath water residue after each use. DO NOT use toilet cleaner, bleach or ammonia based products.
COLOURED BATHS & BASINS
Follow the cleaning instructions as above. Chip/dented/stained surface - Clean and dry the surface. Use a 4000 grit wet/dry sandpaper to very gently polish using a circular motion.
STAINS, SCUFFS, MARKS
To avoid products staining, always wipe up spills immediately. Avoid the use of fake tan, hair dyes or coloured shampoo. To remove scuffs or small marks use a 4000 grit sandpaper in a circular motion.
Copper Baths
EVERYDAY CLEANING
After each use, rinse away any residue with clean water and dry the surface with a soft cloth to help prevent water spots. For a more thorough clean, use mild dish soap and a non-abrasive sponge or cloth as needed. To maintain the finish apply natural beeswax polish once or twice a month. Water trapped under rubber mats or sponges can lead to stains so be sure to remove these after use. DO NOT use vinegar, toilet cleaner, bleach, or ammonia based cleaners as this will harm your finish.
NATURAL AGING
Over time, your copper bath will naturally develop a patina that forms through oxidation. Often referred to as a "living finish," this process results in a mix of tones that enhances the character of the metal and protects it from corrosion. If you prefer your copper to stay in its original condition and prevent this natural process, simply wipe it down completely dry after each use, and apply a normal wax once or twice a month.
REPAIRING DAMAGE
Using a soft microfiber cloth, apply a small amount of high-quality copper polish. Rub in a circular motion until scratch diminishes and the surface regains its shine.
Kel Acrylic Baths
EVERYDAY CLEANING
Clean with warm soapy water or any bathroom cleaner that is safe on acrylic finishes.
CLEANING STAINS
For light stains, mix baking soda with water into a paste and gently rub with a soft cloth.
PREVENTING SCRATCHES
Never use steel wool or abrasive pads. Restore shine with a polish made for acrylic surfaces, applied gently with a microfiber cloth.
Gia Itallii Vanities
EVERYDAY CLEANING
Clean with Jif/Ajax or warm soapy water and a cloth. DO NOT use toilet cleaner, bleach or ammonia based products.
COLOURED FINISHES
Follow the cleaning instructions as above. Chip/dented/stained surface - Clean and dry the surface. Use a 4000 grit wet/dry sandpaper to very gently polish using a circular motion.
MDF CABINETRY
Clean with a soft cloth and warm soapy water. Ensure surfaces are fully dried.
The Ramp Basin Collection
EVERYDAY CLEANING
Clean with Jif/Ajax or warm soapy water and a cloth. For trough style, use a soft brush to clean in corners. DO NOT use toilet cleaner, bleach or ammonia based products.
COLOURED FINISHES
Follow the cleaning instructions as above. Chip/dented/stained surface - Clean and dry the surface. Use a 4000 grit wet/dry sandpaper to very gently polish using a circular motion.
STAINS, SCUFFS & MARKS
To avoid products staining, always wipe up spills immediately. Avoid the use of fake tan, hair dyes, coloured shampoo etc. To remove scuffs or small marks use a fine grit sandpaper in a circular motion.
REPAIRING DAMAGE
Chip/dented/stained surface - Clean and dry the surface. Use a 4000 grit wet/dry sandpaper to polish/buff the mark or chip out. This can then be followed by a polishing wax (car wax). For further information please contact Stonebaths. .
The Ramp Basin Drain Cleaning
NATURAL MOULD REMOVAL AND PREVENTION
Several natural household items can effectively kill mould, including white vinegar and tea tree oil. These options are safer for household use than bleach and can help prevent mould regrowth.
NATURAL MOULD KILLERS AND HOW TO USE THEM
1. WHITE VINEGAR
Pour undiluted white or cleaning vinegar into a spray bottle, spray the affected area, let it sit for at least an hour, then scrub and wipe clean. Do not rinse immediately.
2. TEA TREE OIL
A powerful, natural fungicide that studies have shown to be highly effective at inhibiting mould growth. Mix 1 teaspoon of tea tree oil with 1 cup of water in a spray bottle. Spray on the mouldy area and leave it to air dry; no rinsing is needed to prevent recurrence. (Caution: Tea tree oil can be toxic if swallowed, so use care around pets and children).
3. BAKING SODA
A mild, non-toxic cleaner that kills mould and absorbs moisture and odors. Mix a quarter of a teaspoon of baking soda with water in a spray bottle, spray, scrub with a brush, rinse, and spray again, allowing the final application to air dry as a preventative measure. It can also be made into a paste with water for tough spots.
4. CLOVE OIL
A very effective mould destroyer, recommended by experts for killing mould spores. Mix 1/8 teaspoon of clove oil with 500ml of water in a spray bottle, spray lightly, and leave for 24 hours before wiping clean.
5. LEMON JUICE
The high acid concentration in lemons helps break down mould and leaves a fresh scent. Apply lemon juice directly to the mould, let it sit for a few minutes, then scrub and wipe clean.
IMPORTANT TIPS AND SAFETY PRECAUTIONS
Always wear protective gloves, a face mask, and goggles when cleaning mould to avoid inhaling spores or skin irritation.
These solutions treat surface mould, but the underlying moisture source (e.g., a leak, poor ventilation) must be addressed to prevent regrowth.
Cleaning and Buffing Guide
EVERYDAY CLEANING
Use a non-abrasive cream cleanswer such as Ajax of Jiff to remove most surface marks. Apply with a damp sponge or soft cloth.
BUFFING FOR STUBBORN MARKS OR LIGHT SCRATCHES
For deeper marks or fine scratches, use a soft circular buffing pad. We recommend a three-stage process using 1000, 2000, and 4000 grit pads Always dampen the pad before use and ensure the surface stays moist throughout.
1. START WITH 1000 GRIT
Use circular motions and apply even pressure to the affected area only. Wipe clean with a damp cloth regularly to check your progress.
2. FOLLOW WITH 2000 GRIT
Once the marks or rough patches have softened, switch to 2000 grit to refine the area and blend it into the surrounding surface.
3. FINISH WITH 4000 GRIT
Use the final buff to bring back a smooth, polished look.
4. OPTIONAL - APPLY CAR WAX
For added sheen and protection, apply a quality car wax such as Purewax following the final buff.
IMPORTANT
This is a surface-level buff only. Do not work deeper than 3mm into the material.
Need help or product support?
Get in touch with our team - we're here to help.
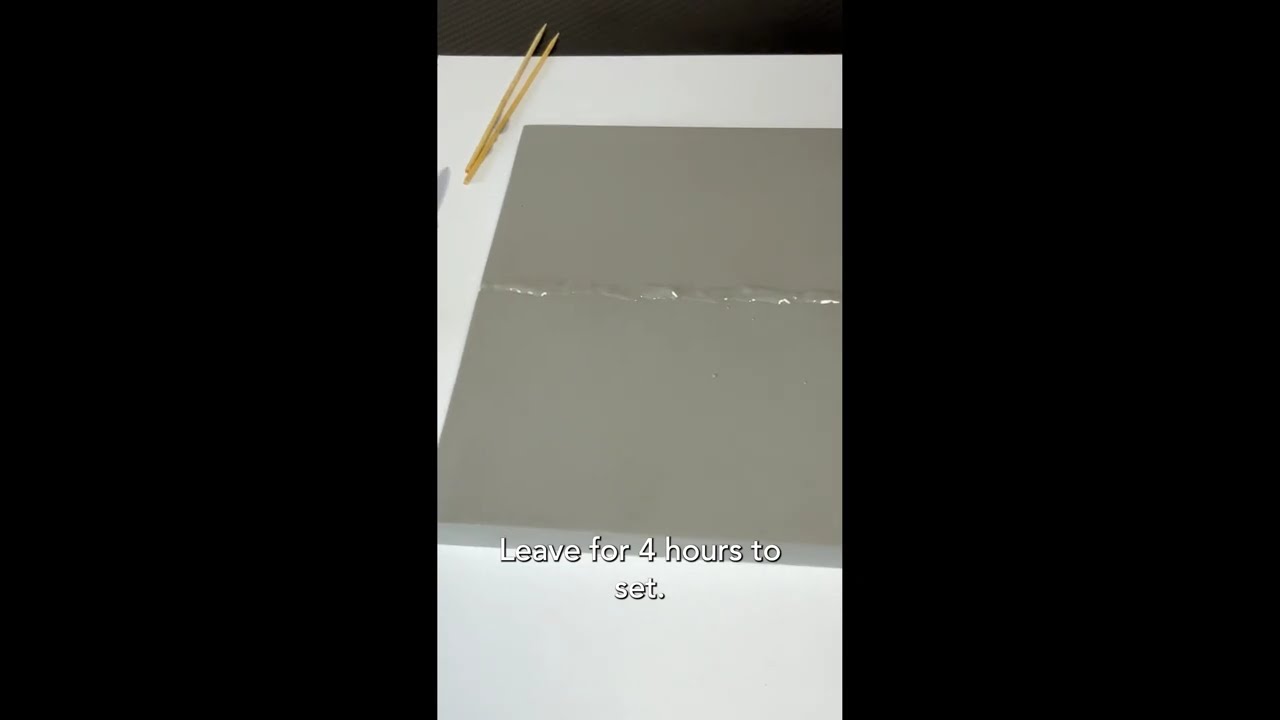
Gel Coat Repair Kit
GEL COAT BATH REPAIR KIT - TWO-PART SYSTEM
Restore chips, scratches and surface imperfections with our easy-to-use Gel Coat Repair Kit. Each kit includes a gel-colour liquid and a hardening agent.
APPLICATION INSTRUCTIONS
1. Use a clean plastic cup as your mixing vessel.
2. Pour approximately half a capful of gel coat into the cup.
3. Add 5 drops of hardener using the provided mixing stick.
4. Stir thoroughly and let the mixture sit for 5-10 minutes.
5. Using the same stick, apply small amounts to the damaged area, smoothing as you go.
6. Allow to dry for a minimum of 4 hours.
FINISHING
1. Once dry, wet the sandpaper and keep the work area moist.
2. To smooth out the repair area, lightly sand using 600-1000 grit wet sandpaper. Wipe clean regularly with a damp cloth.
3. Begin levelling the surface with 1000 grit.
4. Refine further with 2000 grit, then finish by polishing with 4000 grit.
5. For enhanced results, apply a small amount of wax such as Purewax. The final sheen - semi or high gloss - will depend on how much you buff the surface.
For additional assistance, feel free to contact us or view our video tutorial below.
Gel Coat Repair Kit
A video demonstration of how to apply your Gel Coat Repair kit
 play_circle